
UPS Battery Replacement: When to Replace & Step-by-Step Guide
How to replace UPS batteries safely. Signs your UPS battery needs replacement, step-by-step instructions, battery sizing, and how to choose the right replacement AGM battery.
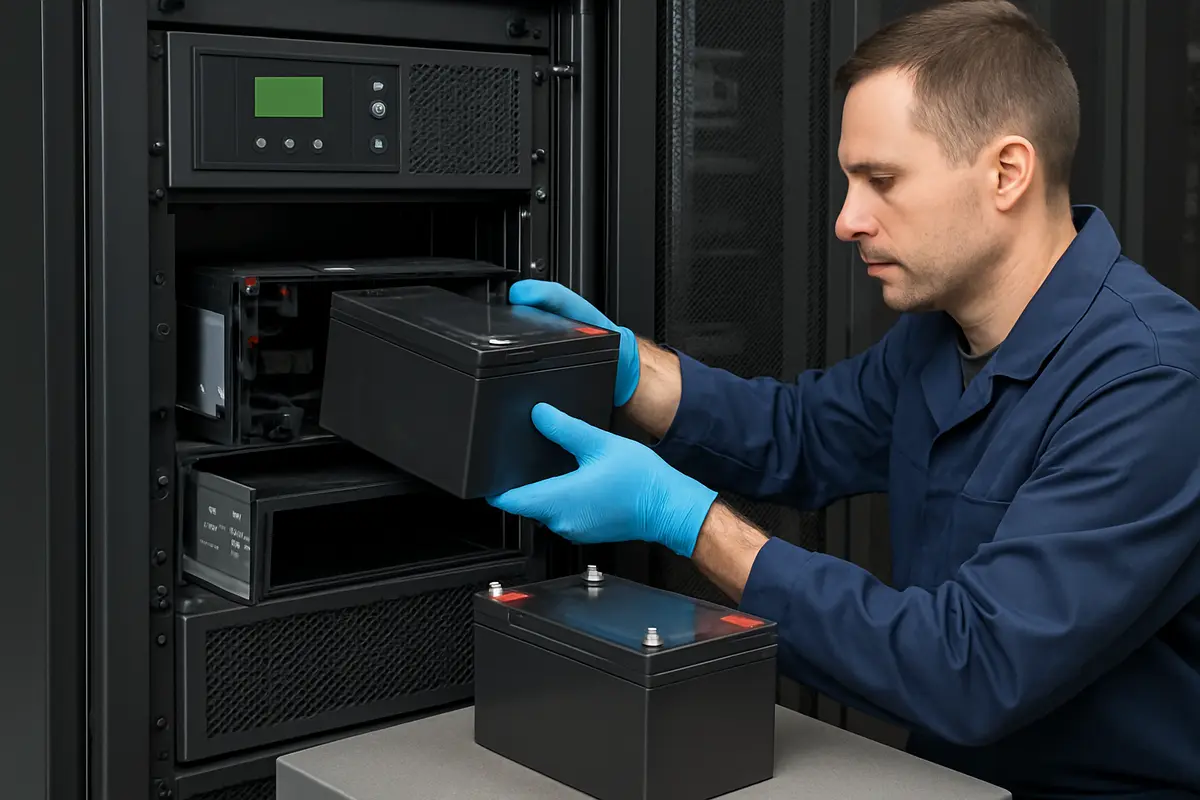
When to Replace Your UPS Battery
UPS batteries do not last forever. Even the best AGM batteries in well-maintained UPS systems need replacement every 3-5 years (standard series) or 5-8 years (high-rate/long-life series). Here are the warning signs:
Immediate replacement needed: - UPS displays a "Replace Battery" or "Battery Fault" alarm - UPS fails to hold load during a self-test or actual power outage - Battery runtime is less than 50% of the original specification - Batteries are visibly swollen, cracked, or leaking - Batteries are hot to the touch during float charging
Schedule replacement soon: - Batteries are older than 80% of their design life (e.g., 4 years for a 5-year battery) - Impedance testing shows a >20% increase from the baseline reading - Float current has increased significantly (indicates internal degradation) - You notice a sulfur smell near the battery cabinet
How UPS Battery Failure Happens
AGM batteries in UPS systems degrade through three primary mechanisms:
1. Grid corrosion (the clock is always ticking). The positive plate grid slowly corrodes in the sulfuric acid environment. This is a time-dependent process that cannot be stopped — only slowed by maintaining correct float voltage and keeping temperatures at or below 25°C. Grid corrosion is the primary end-of-life mechanism for standby batteries.
2. Sulfation (caused by undercharging). When a battery is chronically undercharged or left in a discharged state, lead sulfate crystals on the plates grow larger and harder. Eventually, these large crystals become non-reactive — permanently reducing the battery's capacity. Sulfation is the #1 cause of premature battery failure.
3. Dry-out (caused by overcharging). Excessive float voltage causes the internal oxygen recombination cycle to work overtime, generating heat. Over time, small amounts of water vapor escape through the valve, and the glass mat gradually dries out. Internal resistance increases, capacity drops, and thermal runaway risk increases.
Step-by-Step: Replacing UPS Batteries
Step 1: Identify Your Current Batteries
Before ordering replacements, document your existing battery configuration: - **Battery model number** (printed on the label) - **Voltage** (6V or 12V per unit) - **Capacity** (Ah rating) - **Quantity** per string and number of strings - **Dimensions** (L × W × H in mm) - **Terminal type** (F1, F2, bolt-down, threaded insert)
Step 2: Choose Replacement Batteries
Critical rule: Replace ALL batteries in a string simultaneously. Never mix old and new batteries — the weakest cell limits the entire string's performance and can cause cascading failure.
Matching requirements: - Same voltage (V) - Same or higher capacity (Ah) — you can upgrade capacity if physically compatible - Same terminal type — or use terminal adapters - Compatible dimensions — measure the battery compartment
Step 3: Safety Precautions
- **Do NOT disconnect the UPS from utility power** during battery replacement if your UPS supports hot-swap. Many rack-mount UPS models allow battery replacement while the UPS continues to protect the load from utility power. - Wear **insulated gloves** and **safety glasses** — battery terminals can deliver hundreds of amps in a short circuit - Use **insulated tools** — a wrench shorting across terminals can cause arc flash, burns, and battery explosion - Work on **one connection at a time** — remove the old battery's negative terminal first, then positive - **Do not stack or drop batteries** — a cracked case can release sulfuric acid
Step 4: Remove Old Batteries
1. If your UPS allows, switch to bypass mode (load continues from utility, no battery protection) 2. Disconnect the battery connector from the UPS (some models have a plug, others have screw terminals) 3. Remove the negative (black) cable first, then the positive (red) cable from each battery 4. Slide or lift the old batteries out — a 12V 100Ah AGM battery weighs approximately 26-30 kg
Step 5: Install New Batteries
1. Place new batteries in the compartment with correct orientation (terminals matching the cable routing) 2. Connect the positive (red) cable first, then the negative (black) cable 3. Torque terminal bolts to manufacturer specification (typically 5-7 Nm for bolt terminals) 4. Reconnect the battery connector to the UPS 5. Exit bypass mode — the UPS should detect the new batteries and begin charging
Step 6: Commission and Test
1. Allow the batteries to charge for at least 24 hours before performing a load test 2. Run a UPS self-test (most models have a button or software command) 3. Record the new battery installation date — set a calendar reminder at 80% of expected life 4. Update your battery impedance baseline if you perform regular testing
Choosing the Right Replacement Battery
Note: Always verify dimensions and terminal type before ordering. The models listed above are common configurations but your specific UPS may differ.
How Often Should You Replace UPS Batteries?
Temperature adjustment: If your battery room averages 30°C instead of 25°C, reduce the replacement interval by approximately 30%. At 35°C, reduce by 50%.
Related Resources
- [How to Choose a UPS Battery](/blog/how-to-choose-ups-battery-complete-guide/) — Complete buyer's guide - [How to Charge AGM Batteries](/blog/how-to-charge-agm-battery-voltage-guide/) — Correct charging after replacement - [Battery Backup Time Calculator](/blog/battery-backup-time-calculator-how-long-will-ups-last/) — Calculate your required capacity - [Our AGM Battery Products](/products/12v-agm-battery/) — View compatible replacement batteries